How to use Image Convertor
Learn how to use an image converter to convert JPG, PNG, WebP, AVIF, and other formats while maintaining image quality and reducing file size.
How to Use an Image Converter
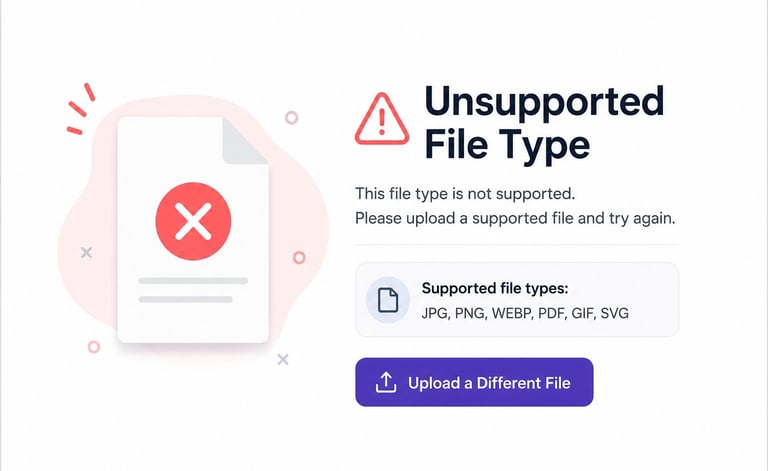
So you've got a picture sitting on your phone, and for some reason, absolutely nothing wants to accept it. Maybe you're filling out a college admission form and it keeps rejecting the photo because it's not a JPG. Maybe you're trying to upload a product picture to your online store and the file's just too heavy to load. Either way, you're stuck staring at an error message, wondering why something so small feels like such a headache.
But the good thing is that the fix takes about thirty seconds once you know what you're doing. That's what this guide is for.
Why You'd Even Need This
When you have to change the format of your image you must have to use Image convertor an online image converter changes your picture from one file type to another — JPG, PNG, WebP, whatever you need — without touching how the picture actually looks. It's the same photo, just packaged differently so a website, app, or printer can actually read it.
And honestly, once you've used one, you'll wonder why it ever felt confusing in the first place.So try Imaglora now and change your image format.
Pick a Tool You Won't Regret
Not every converter you find online is worth your time. Some bury the upload button under five ad banners, some take forever to process a single picture, some say you free online image convertor but when you go to website its suprisingly odd they ask for subscription and some quietly wreck your image quality without telling you.
I personally lean on Imaglora for this — it's a straight forward browser tool where you're not fighting through pop-ups for subscription just to convert one photo. No installs, no sign-ups, just a clean upload-convert-download flow. Worth keeping bookmarked if you deal with images regularly.
The Actual Steps (Upload, Select, Convert, Download)
Here's where we get into the real how-to. Four steps, and none of them require any technical know-how.
1. Upload Your Photo
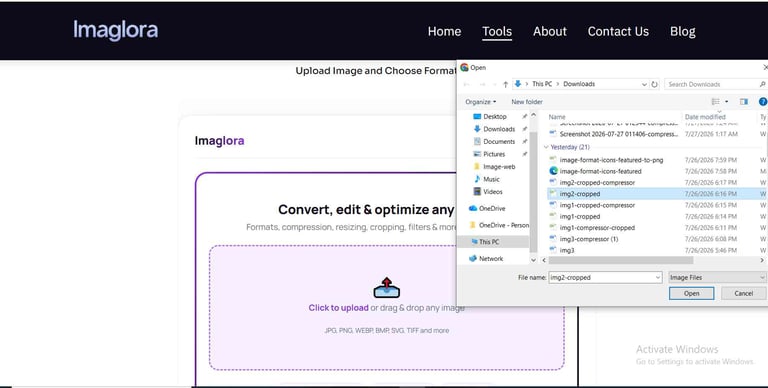
Open your converter of choice — Imaglora works fine here — and look for the upload area. It's usually front and center, either a button that says something like "Choose File," or a box you can literally drag your photo into.
Grab the image from wherever it's saved on your device and drop it in. If you're on a phone, this usually means tapping into your gallery; on a laptop, it might mean digging through a downloads folder full of files named "IMG_2847" that all look identical. Take a second to make sure you're grabbing the right one — it's a small thing, but it saves you from re-doing the whole process later.
2. Choose the Format You Actually Need
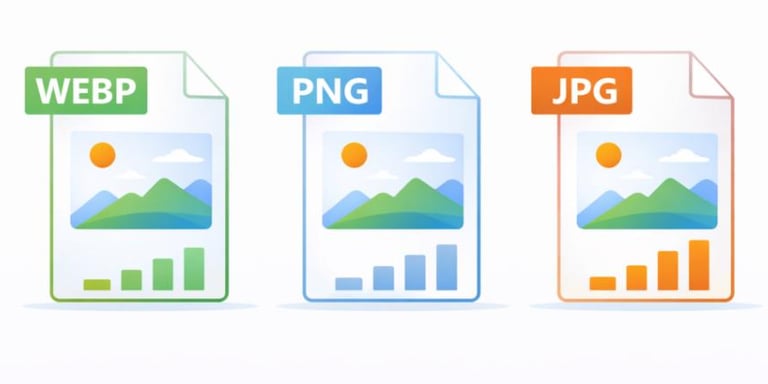
Once the photo's uploaded, you'll usually see a list of format options — JPG, PNG, WebP, sometimes GIF or PDF too. This is the one step where people hesitate, so here's a fast way to decide:
Sending a regular photo somewhere? JPG is your safest bet — small size, works everywhere.
Need the background see-through, like for a logo? Go PNG.
Building or updating a website? WebP loads faster and looks just as sharp.
Making a tiny looping clip instead of a still photo? That's GIF territory.
If you're not sure, most converters — Imaglora included — let you preview the result before you commit, so there's no harm in testing a format first to see how it looks.
3. Press Convert and Let It Do the Work
Once your format's picked, there's typically one clear button left — "Convert," "Start," something along those lines. Click it and step away for a second. A single photo usually finishes almost instantly; a big batch might take a little longer, especially if you're converting a whole folder.
4. Grab Your Converted File
Once it's done, a download option appears. Tap it, and the new version lands wherever your downloads usually go. Some tools show you a small preview first — take that second to glance at it before moving on, especially if this is going somewhere important like a job application or a client's website.
That's genuinely the entire process. Once you've done it a single time, you won't need to think twice about it again.
Things That Make the Process Smoother
A handful of small habits go a long way once you start converting images regularly.
Every round of compression chips away a tiny bit of quality, especially with JPG. Always start from your original file rather than a copy that's already been converted once before.
Watch the compression slider, if there is one. Dragging it too far toward "small file size" often makes images look grainy or washed out. Somewhere in the middle usually keeps things looking sharp while still cutting the file size down.
Resize while you're at it. A lot of converters, Imaglora included, let you shrink the image dimensions during the same step — handy if you're prepping something for a website banner or a social post and don't want to open a separate editing tool just for that.
Stick to browser-based tools. Anything that asks you to download software just to convert a picture is more hassle than it's worth. A clean, browser-based option keeps things quick and doesn't clutter your device.
Things to avoid
A few habits tend to trip people up, even after they've converted images plenty of times before.
Picking a format without checking what it's actually for. Converting a transparent logo into JPG will slap a white box behind it, since JPG can't handle transparency at all. Always match the format to what the image is actually being used for.
Not glancing at the final file size. People sometimes assume the file automatically got smaller after converting, without actually checking. If shrinking the size was the whole point, take five seconds to confirm it worked before moving on.
Skipping the platform's requirements. Job portals, online stores, and social platforms often have specific size or format rules. Converting blind and hoping it fits can mean redoing the whole thing later — worth a quick check first.